

Exposed brick can give a Charlotte home texture, warmth, and a sense of permanence. It can also reveal uneven mortar, old repairs, moisture problems, and construction details that were never intended to remain visible. A successful renovation starts with understanding the wall, not simply removing its covering.
For homeowners researching exposed brick interior renovation in Charlotte, the central question is whether to uncover existing masonry or introduce a new brick finish. Both approaches can work beautifully, but they involve different costs, preparation, and design decisions. This guide explains how to evaluate those options and create a brick feature that feels connected to the rest of your home.
Start By Finding Out What Is Behind The Wall
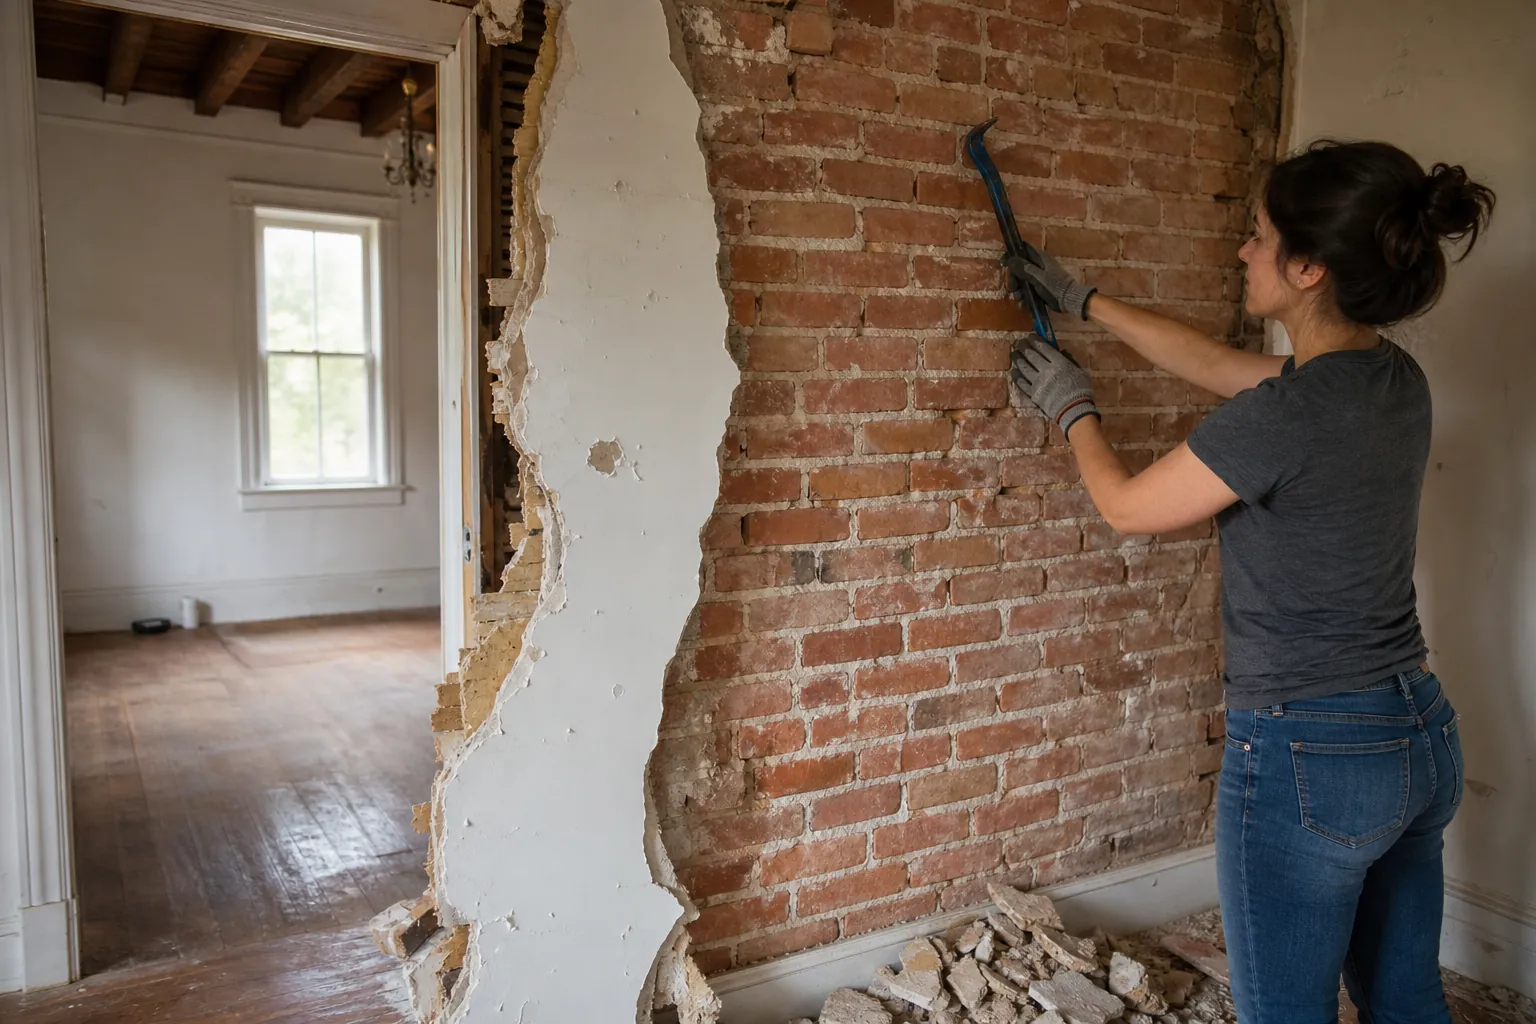
A brick exterior does not necessarily mean there is an interior brick wall waiting to be exposed. Many homes have exterior brick veneer separated from the interior by framing, insulation, and other wall components. Removing drywall in that situation will not uncover a finished masonry surface.
Older homes may contain solid masonry walls, brick chimney masses, or interior masonry partitions. Even then, the hidden brick may be irregular, stained, or patched. Builders sometimes used less uniform brick where plaster would conceal it.
Before committing to demolition, have the proposed wall assessed. A controlled exploratory opening, made after checking for utilities and other hazards, can help establish what is present. Existing plans and accessible attic or crawl space areas may also provide clues.
- Confirm whether the wall contains solid masonry, exterior veneer, framing, or a combination of assemblies.
- Identify electrical wiring, plumbing, ductwork, and other services before removing finishes.
- Check whether the wall supports structural loads or contributes to a required fire separation.
- Look for signs of previous water intrusion, damaged mortar, or movement.
This investigation creates a realistic starting point. It also prevents a design built around an assumption that turns out to be expensive or impractical.
Choose Between Original Brick And A New Brick Finish
Original masonry brings genuine variation and history. Its irregular joints and color changes can suit a relaxed living room, an older kitchen, or a home office. However, exposing it may require careful plaster removal, masonry repairs, and changes to nearby trim or electrical work.
Thin brick offers another route. These units create a brick surface without the depth and weight of a full masonry wall. They can be useful when no suitable brick exists behind the drywall or when the desired location is a new partition.
Thin brick still needs an appropriate substrate, compatible installation materials, and attention to weight and attachment. It is not automatically suitable for installation over every existing finish. The system should be selected for the actual wall conditions and used according to its manufacturer's requirements.
Full-depth brick is a more substantial construction choice. Its weight can require structural evaluation and support, particularly on upper floors or over framed floor systems. It should not be treated as interchangeable with thin brick.
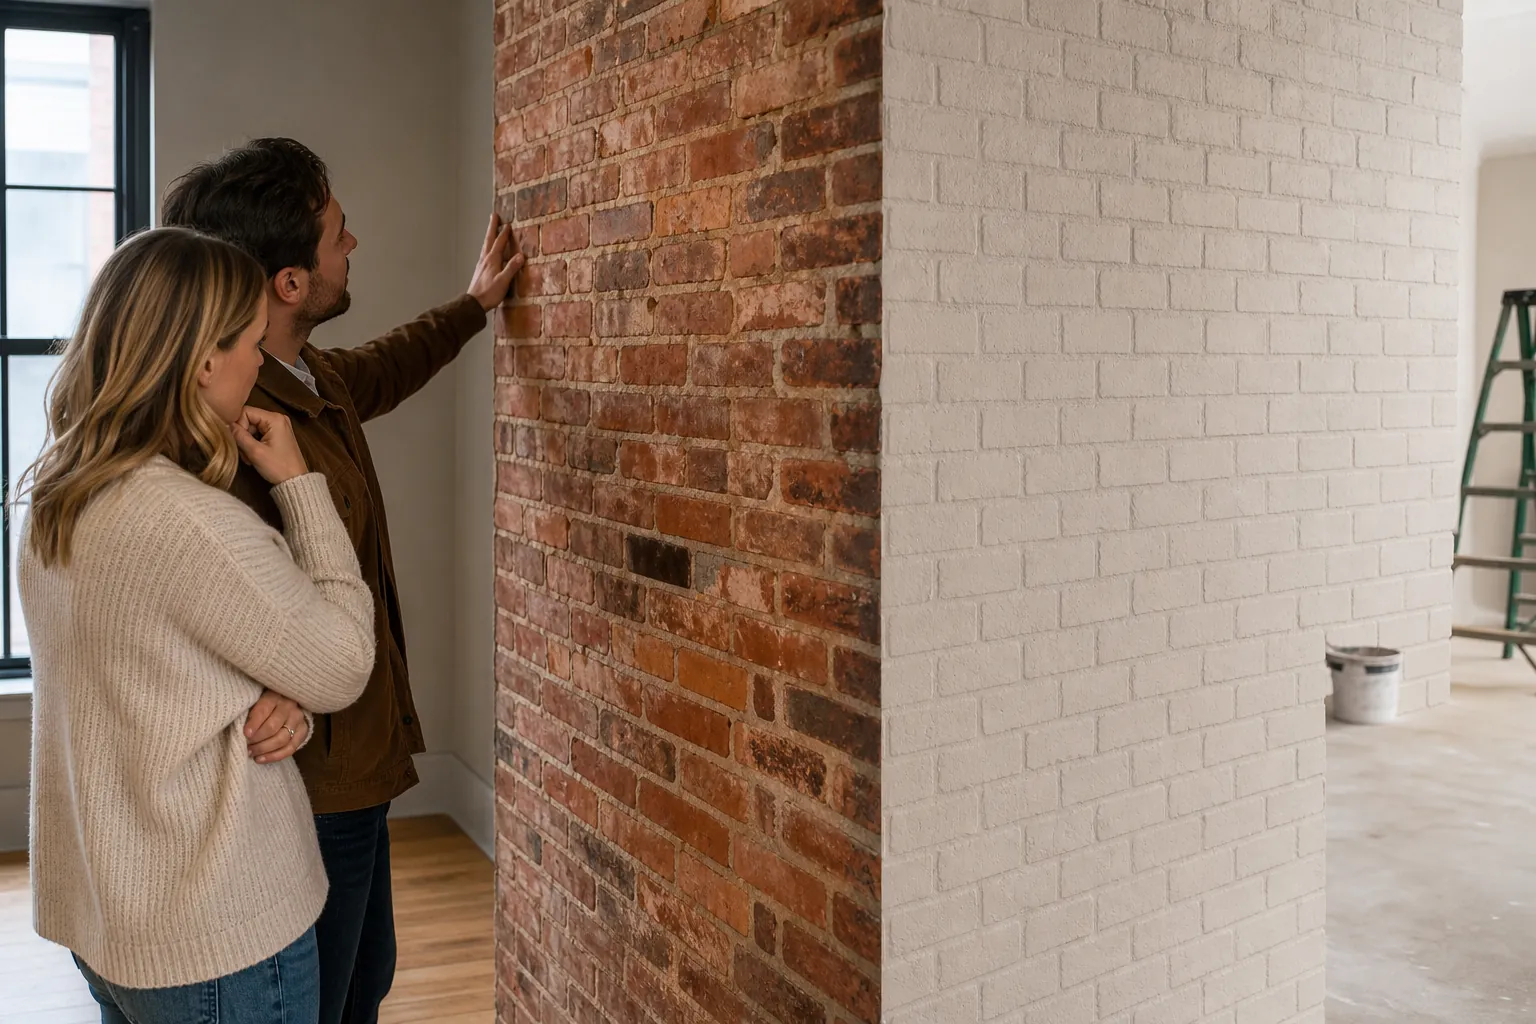
Compare these options through physical samples rather than photographs alone. Brick color, surface texture, joint width, and mortar color all affect the finished appearance. A small mockup can reveal whether a wall will feel warm and understated or visually overwhelming.
Investigate Moisture Before Making Brick A Feature
Moisture deserves particular attention in North Carolina, where humid weather and seasonal temperature changes influence how homes perform. A masonry wall can look dry at one visit while still having a recurring problem.
White powdery deposits, often called efflorescence, can indicate that moisture has moved through masonry and carried salts to the surface. Dark staining, peeling adjacent paint, crumbling mortar, or a musty odor also warrant investigation. None of these clues identifies the source by itself.
Possible causes include roof or flashing leaks, exterior drainage problems, plumbing leaks, and condensation. Below-grade walls require additional care because groundwater and soil moisture can complicate an interior finish project.
- Resolve the source of water entry before cleaning or coating the brick.
- Review exterior conditions when the interior wall shows staining or salt deposits.
- Consider indoor humidity and ventilation when condensation may be involved.
- Allow repaired masonry to dry appropriately before applying any specified finish.
Removing plaster or another covering may also change the wall assembly's thermal and moisture behavior. Where the wall separates conditioned space from outdoors or an unconditioned area, insulation and air control need to remain part of the plan. Exposed brick should not come at the expense of a comfortable, durable home.
Plan Demolition, Cleaning, And Mortar Repairs Carefully
Exposing existing brick is usually slower than ordinary finish demolition. Aggressive tools can chip brick faces or loosen mortar joints. Work often begins with a limited test area so the removal method can be adjusted before damage spreads.
Older wall coatings and painted surfaces may contain lead or other hazardous materials. Suspect materials should be evaluated before disturbance, and applicable testing, containment, and handling requirements should be followed. Dust from masonry work also requires appropriate controls.
Once the brick is visible, cleaning should proceed from the least aggressive effective method. A cleaner suitable for one brick may discolor another or damage its mortar. Test any proposed method in an inconspicuous area and review the results after drying.
Sandblasting and harsh chemical treatments can permanently alter masonry. A cleaner-looking wall is not necessarily a healthier wall if the cleaning process removes the protective surface of the brick or erodes the joints.
Repointing, which replaces deteriorated mortar within joints, should use a mortar compatible with the existing masonry. Older, softer brick can be damaged by mortar that is too hard or otherwise unsuitable. Matching color alone is not enough.
Some scars and patches may remain after cleaning and repairs. Decide early whether those marks are welcome character or whether a more uniform thin-brick installation would better support the room's design.
Decide Whether The Brick Needs A Finish
Not every exposed brick wall needs a sealer. A sound, clean wall in a suitable interior setting may be best left uncoated. Other walls may benefit from a product intended to reduce surface dusting or improve cleanability.
The right choice depends on the masonry, moisture conditions, and intended use. A glossy film can change the brick's color and sheen, while an unsuitable coating may interfere with drying. No clear finish should be used to hide an unresolved water problem.
Ask to see a sample of the proposed product on the actual brick or a representative piece. Review its appearance in daylight and under the room's planned lighting. Also confirm maintenance needs and compatibility with any previous treatment.
Paint, limewash, and other decorative finishes offer different results. Paint can create a consistent color but covers much of the brick's natural variation. Limewash can produce a softer appearance, although suitability and preparation depend on the substrate and product.
Think about reversibility before coating original masonry. Removing an applied finish later can be difficult, expensive, or damaging. If preserving the existing brick is a priority, that consideration should guide the specification from the beginning.
Design The Whole Room Around The Brick
A brick wall works best as part of a coordinated room rather than an isolated statement. Start by identifying its role: a backdrop for a dining table, a fireplace surround, a bedroom accent, or a feature behind shelving.
Then balance its visual weight. Strongly textured red brick often pairs well with quieter cabinetry, simple trim, and restrained flooring patterns. Softer or lighter brick can support a broader range of finishes, but the room still needs a clear hierarchy.
Mortar color is especially influential in new installations. A contrasting joint emphasizes each unit and creates a busier pattern. A closer color match can make the surface feel more continuous. Joint profile also changes how shadows fall across the wall.
- Choose flooring and wood tones alongside the brick sample so their undertones work together.
- Use a limited material palette when the brick has substantial color variation.
- Consider a smaller feature area if a full wall would overpower the room.
- Plan trim transitions before installation so edges look deliberate rather than unfinished.
In a kitchen, consider grease, splashes, and daily cleaning. Rough brick immediately behind a cooking surface may be harder to maintain than a smoother material. A coordinated, cleanable backsplash can preserve the brick's presence without placing it in the most demanding location.
Near a fireplace, appearance is only one consideration. Clearances, appliance instructions, hearth requirements, and the existing fireplace assembly must guide the work. Decorative brick does not automatically make an installation safe or compliant.
Coordinate Lighting, Outlets, And Wall Attachments
Lighting can make brick feel subtle or dramatic. Light placed close to the wall emphasizes texture and can also highlight every irregular repair. More diffuse illumination softens those variations. Test the effect before fixing fixture locations.
Warm lighting often complements red and brown brick, but the best color temperature depends on the entire palette. Review brick, paint, cabinetry, and lighting together rather than selecting each item separately.
Electrical planning is especially important when uncovering original masonry. Wiring previously concealed behind plaster may need a new route. Options might include adjacent framed walls, planned chases where appropriate, or intentionally visible conduit that suits the design.
Receptacles and switch boxes need suitable support and a clean relationship with the finished wall surface. Qualified electrical work and any required permits should be included in the scope rather than left until the wall is complete.
Plan mounting points for televisions, shelves, mirrors, and cabinets as well. Anchor selection depends on the masonry, its condition, and the load. Thin brick alone should not be assumed to provide structural support for heavy objects.
Brick also reflects sound. In a room with hard flooring and large windows, rugs, upholstered furniture, and other absorptive finishes can help balance acoustics. This is particularly useful in living rooms and home offices.
Build A Budget Around The Actual Scope
The cost of an exposed brick renovation depends on much more than wall area. Existing conditions, access, surface preparation, repairs, and adjacent finish work often have a greater influence than the brick itself.
An existing wall may appear to save material costs, yet require extensive labor to uncover and stabilize. A thin-brick installation can provide more predictable aesthetics, but its substrate preparation, corners, mortar, and trim details still need to be priced.
- Include exploratory work and any testing needed before demolition begins.
- Separate masonry cleaning and repairs from decorative finish allowances.
- Account for electrical changes, lighting, and wall-mounted equipment.
- Include protection, debris removal, and restoration of adjacent floors, ceilings, and trim.
- Set aside a contingency appropriate to the uncertainty of the existing conditions.
A written scope should clarify what happens if hidden damage appears. It should also identify the expected finish quality. A naturally irregular original wall and a carefully installed new brick surface are different outcomes, even when both are attractive.
Avoid relying on a broad per-square-foot estimate before the wall has been assessed. A useful proposal connects the price to defined preparation, materials, repairs, and finish details.
Understand Scheduling And Local Review
A small feature wall can still involve several trades and drying periods. Investigation comes first, followed by any hazard evaluation, demolition, moisture correction, masonry work, electrical coordination, and final finishing.
Some tasks must occur in sequence. Mortar and coatings need appropriate curing conditions, and concealed work may need inspection before it is covered. Choosing fixtures or finish materials late can interrupt an otherwise straightforward schedule.
Permit requirements depend on the work involved and the property's jurisdiction. Cosmetic changes may be treated differently from structural alterations, electrical modifications, or changes involving fireplaces. Confirm requirements with the authority responsible for the address, which may include Mecklenburg County or another local jurisdiction.
Homes subject to historic preservation rules may need additional review, especially when a project affects exterior features or protected elements. Verify the property's status rather than assuming that an interior project is automatically exempt.
For an occupied home, agree on dust containment, work hours, access, and daily cleanup. Removing wall finishes can be disruptive, so it helps to establish how nearby rooms and belongings will be protected before work starts.
Create A Brick Feature You Can Live With
The strongest exposed brick projects balance character with practical performance. The wall should suit your home's layout, remain manageable to clean, and work with insulation, lighting, electrical needs, and surrounding finishes.
Before moving forward, gather photographs of the room, any available construction information, and a few examples of brick surfaces you like. Note whether you prefer uneven historic texture, a consistent new installation, or a lighter decorative treatment. Those preferences help focus the initial discussion.
After completion, use cleaning methods appropriate to the masonry and any applied finish. Avoid soaking the wall or using harsh cleaners without guidance. New staining, loose mortar, or recurring powdery deposits deserve attention rather than another coat of sealer.
If you are considering exposed brick as part of a custom home remodeling project in Charlotte, call CDG Carolinas at (704) 619-6293 to discuss your ideas. A conversation about the existing wall, your preferred look, and the surrounding renovation can help establish a sensible next step.
Call (704) 619-6293 to talk through next steps.