
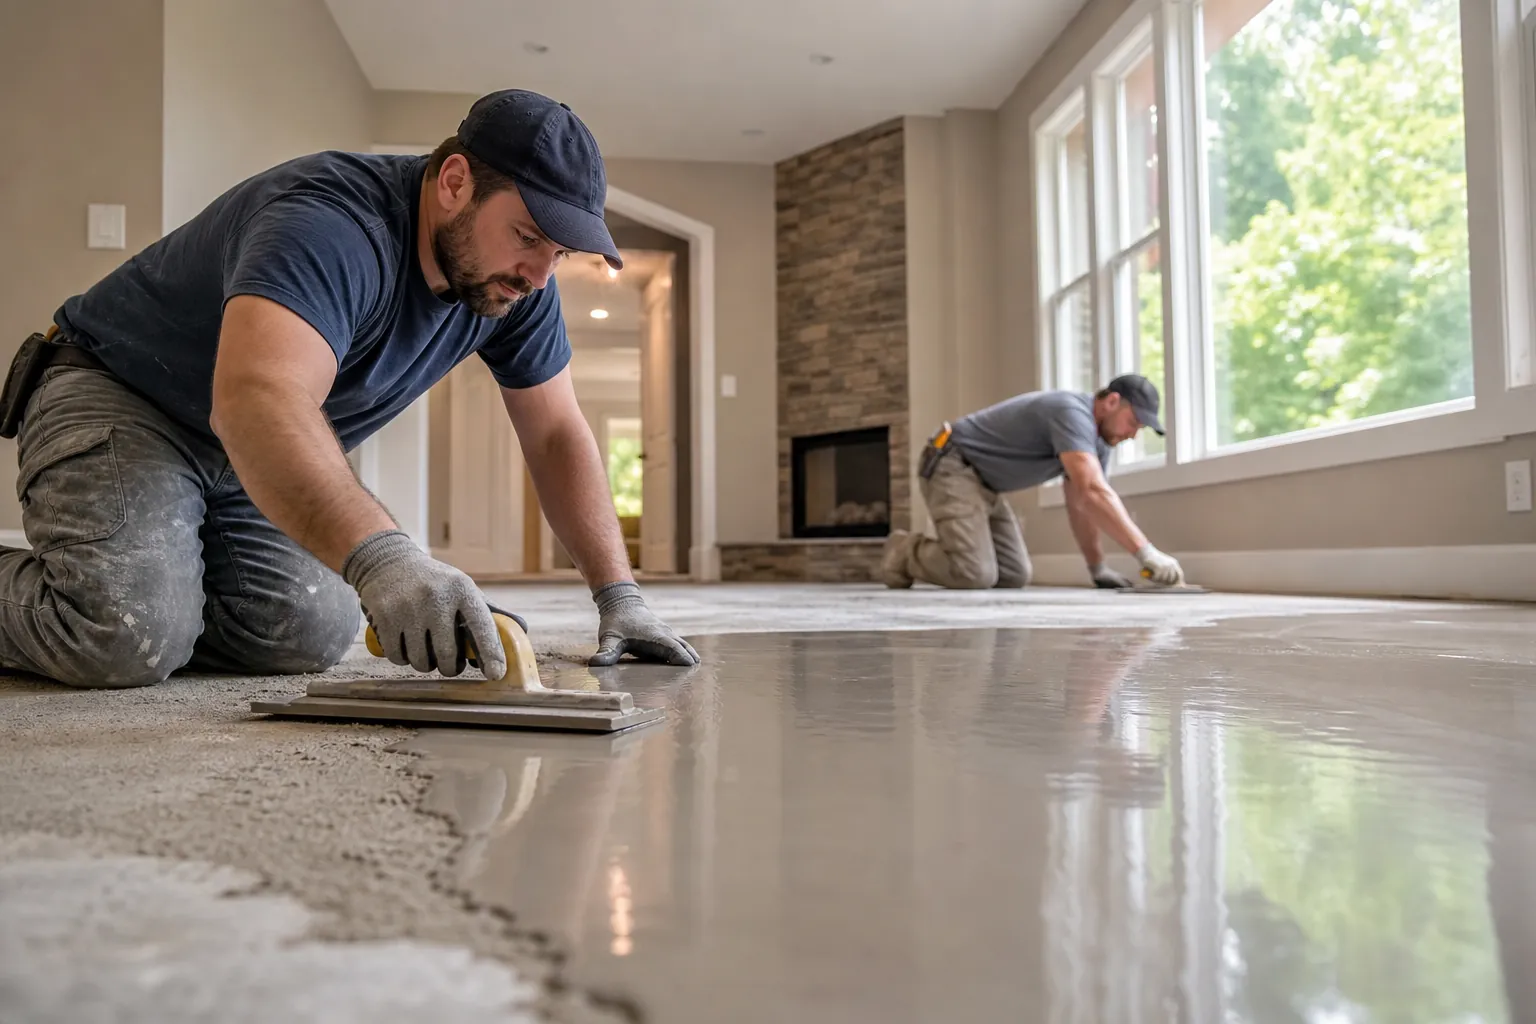
A beautiful floor depends on more than the material you can see. Beneath hardwood, tile, or luxury vinyl, the supporting surface needs to meet the requirements of the finished flooring. If it does not, a remodel can leave you with hollow spots, cracked grout, moving planks, or transitions that feel awkward underfoot.
For homeowners planning a floor leveling home remodel in Charlotte, the first step is understanding what the floor actually needs. A low spot may call for a compatible patching compound. A sloping room may require a closer look at framing or foundation movement. Those are different problems, and treating them as the same can create unnecessary expense.
CDG Carolinas helps homeowners consider floor preparation as part of the larger remodeling plan. This guide explains what to evaluate, how leveling fits into construction, and which questions to ask before choosing a repair approach.
Flat And Level Are Different Requirements
A level surface is horizontal. A flat surface has no significant humps, depressions, or abrupt changes across its plane. A floor can be flat while sloping slightly, and it can be generally level while containing individual high and low spots.
That distinction matters because many flooring products require flatness rather than perfect level. Large-format tile, engineered wood, and floating vinyl products each have installation requirements that specify acceptable variation over a measured distance. The exact tolerance comes from the flooring manufacturer and the applicable installation standard.
Trying to make an entire older room perfectly level can raise the finished floor more than expected. That can affect door clearance, cabinets, stair risers, and adjoining rooms. If the floor is stable and the finish only requires improved flatness, a targeted correction may be more appropriate.
- Ask the installer to identify the finished flooring's flatness requirement before specifying preparation.
- Measure both broad slopes and localized irregularities so the proposed work addresses the actual condition.
- Review finished floor heights at doorways and transitions before approving added material.
- Investigate new or worsening movement instead of assuming it can be covered with a leveling product.
The goal is not simply to pour material until the floor looks better. It is to create a suitable substrate without overlooking the reason it became uneven.
Why Floors Become Uneven In Charlotte Homes
Charlotte-area homes include older houses with wood-framed floors, slab-on-grade construction, and homes with additions built at different times. Each can develop unevenness for different reasons. The construction type helps guide the investigation, but it does not establish the cause by itself.
In wood-framed floors, joists may deflect, subfloor panels may loosen, or supporting members may have been altered during previous work. A noticeable dip can also relate to an inadequate support condition. Squeaks alone do not establish a structural problem, but movement combined with sagging deserves attention.
Concrete slabs can have original finishing irregularities, cracks, or localized damage. Adhesive residue and old patching materials can create high spots after flooring removal. Some cracks remain stable, while others reflect movement that needs evaluation before a new finish is installed.
Moisture is another important consideration in North Carolina. Crawl-space humidity, plumbing leaks, drainage problems, and slab moisture can affect flooring assemblies. Wood may swell or deteriorate, and certain preparation products may not perform properly when moisture conditions exceed their limits.
Look beyond the floor when symptoms suggest a broader issue. Doors that have recently started sticking, changing cracks, visible deterioration, and a floor that feels unusually soft may justify assessment by a qualified professional. Leveling compound does not repair damaged framing or stop active foundation movement.

What A Useful Floor Assessment Should Include
A useful assessment starts with the planned remodel. The team should know which rooms are changing, what flooring is proposed, and whether walls, cabinets, or plumbing fixtures will move. Those decisions influence both access and finished elevations.
Existing floor coverings can hide substrate conditions. An initial inspection may identify slopes and obvious movement, but the final preparation scope often becomes clearer after demolition. Homeowners should expect the estimate to distinguish visible conditions from concealed conditions that cannot yet be verified.
Measurements typically combine a straightedge with elevation checks using suitable measuring equipment. A straightedge helps locate localized gaps and humps. Elevation measurements show how rooms relate to one another. Together, these checks provide more useful information than a single bubble-level reading.
The assessment should also identify the substrate material, its condition, and any remaining coatings or adhesives. Products designed for concrete are not automatically appropriate for plywood or oriented strand board. Likewise, a sound-looking surface may still need cleaning, fastening, priming, or moisture testing.
- Document the locations and approximate extent of high spots, depressions, cracks, and soft areas.
- Check accessible framing and subfloor connections when the floor moves or sags.
- Identify moisture concerns and select testing methods appropriate to the substrate and flooring system.
- Compare the proposed finished floor height with nearby doors, appliances, thresholds, and stairs.
- Confirm whether specialized evaluation is needed before cosmetic preparation proceeds.
A clear assessment turns a vague request to level the floor into a defined scope with measurable installation requirements.
Choosing The Right Floor Preparation Method
There is no single preparation method that fits every Charlotte remodel. The right approach depends on substrate stability, correction depth, moisture conditions, and the requirements of the flooring assembly.
Localized patching
Small depressions or isolated damaged areas may be addressed with a compatible patching product. This can avoid raising an entire room when only a few areas need correction. The product must be rated for the substrate, application thickness, and intended floor covering.
Reducing high spots
Some concrete high spots can be mechanically reduced rather than filling the surrounding floor. Grinding requires appropriate equipment, dust control, and attention to the slab's condition. Materials that could contain asbestos or other hazardous components should be assessed before disturbance.
Wood subfloors need a different approach. Excessive sanding or cutting can weaken panels, and altering structural framing without an appropriate plan can create a safety issue. High spots should be investigated before deciding how to reduce them.
Self-leveling underlayment
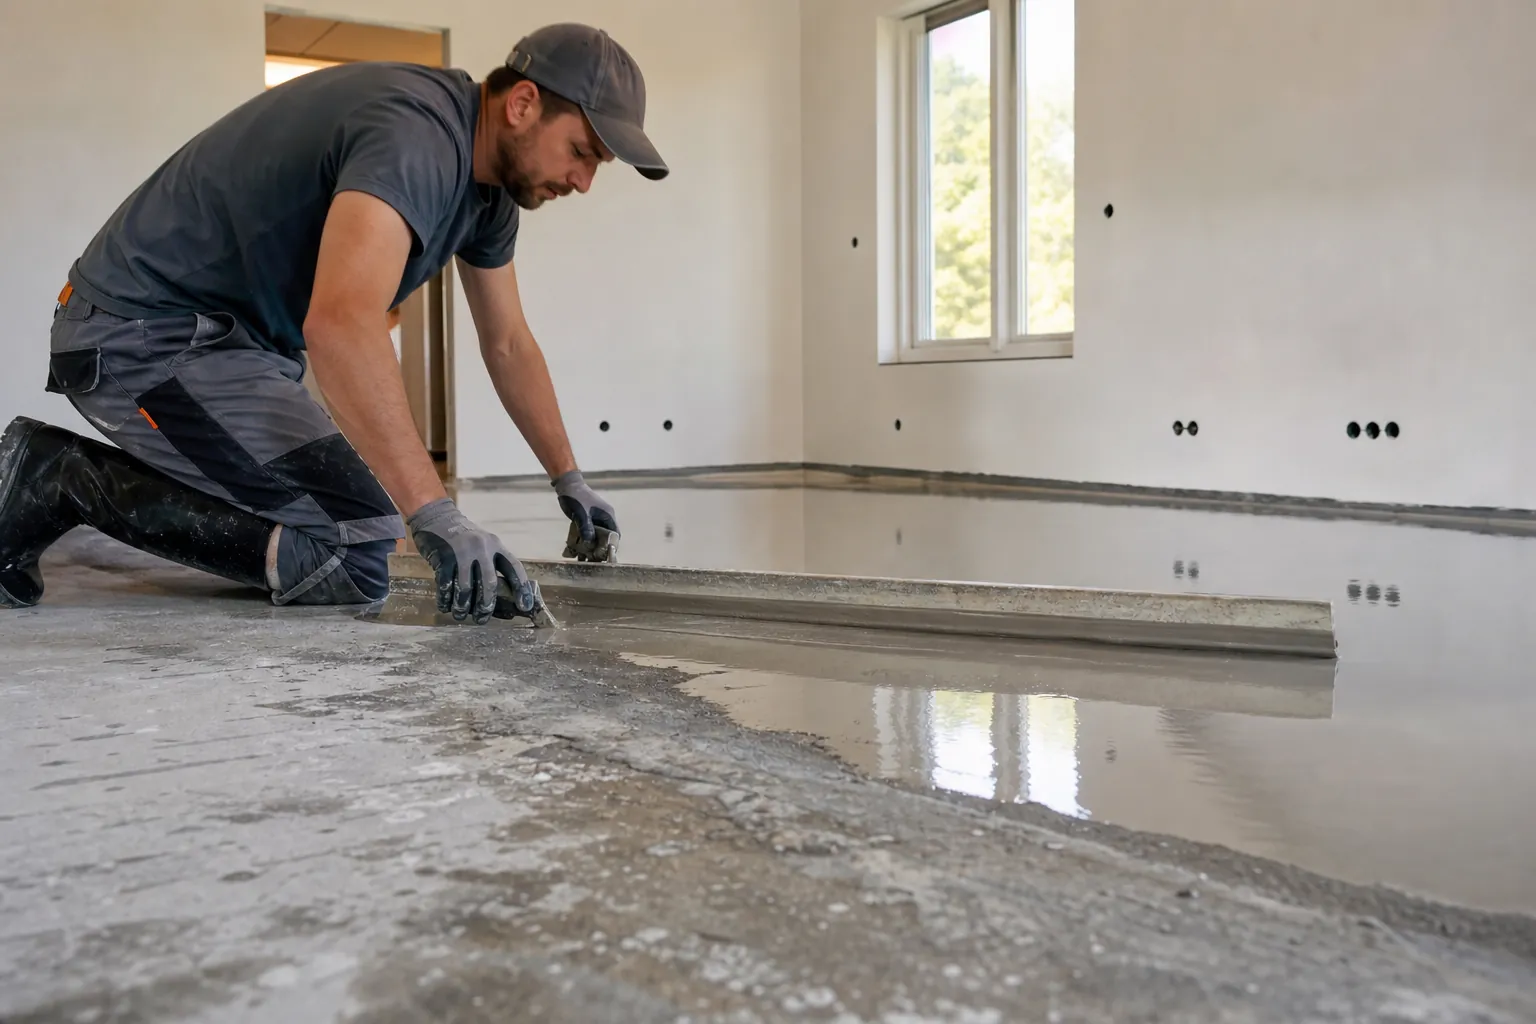
A self-leveling underlayment can help create a smooth, suitable surface across a larger area. Despite the name, it is not a substitute for preparation. Installation may require a specific primer, perimeter treatment, sealed openings, reinforcement, or minimum thickness, depending on the product and substrate.
Mixing ratios and working times are critical. Adding extra water to improve flow can compromise performance. The manufacturer's instructions also determine when the surface can receive flooring and whether moisture-related precautions are necessary.
Subfloor or framing repairs
Loose panels, deteriorated wood, inadequate support, and excessive deflection need repair before surface preparation. That may involve fastening, replacing damaged sections, or developing a structural correction with qualified professionals. A cementitious topping cannot make an unstable floor assembly sound.
The selected method should be documented as a compatible system, not a collection of unrelated products. Primer, patch, underlayment, adhesive, and floor covering all need to work together.
Match Preparation To Your Finished Flooring
Floor preparation should follow the flooring decision, not precede it blindly. Changing from carpet to large-format tile, for example, can expose requirements that the previous floor covering did not have.
Tile needs a properly supported assembly with suitable stiffness and flatness. Flattening the surface alone does not address excessive deflection. Large tiles can be especially sensitive to irregularities because variations can contribute to uneven tile edges and inconsistent mortar coverage.
Floating luxury vinyl and laminate products also need the specified flatness. Low spots can allow movement, while high spots can stress connections or create an uneven feel. An underlayment pad generally does not correct a substrate that falls outside the product's limits.
For wood flooring, moisture conditions and installation method matter alongside flatness. A glue-down product may have different substrate requirements from a nail-down system. The preparation approach must account for fastening, adhesive compatibility, and the condition of the wood or concrete below.
Carpet can conceal some visual irregularities, but it should not be used to disguise soft areas or damaged subflooring. Surface defects can still affect comfort, transitions, and long-term performance.
- Choose the flooring product early enough to obtain its current installation instructions.
- Verify that any preparation material is approved for the flooring's installation method.
- Coordinate moisture testing with the flooring and adhesive requirements rather than relying on appearance.
- Confirm that the completed substrate meets the required tolerance before flooring installation begins.
Coordinate Leveling With Kitchens, Bathrooms, And Doorways
Floor correction affects more than the open center of a room. In a kitchen remodel, added height can change dishwasher clearance, refrigerator fit, and the relationship between cabinets and the finished floor. Planning the sequence helps prevent an appliance from becoming trapped behind a raised floor edge.
Cabinet installation also requires coordination. Cabinets may need their own leveling strategy, and their final position should account for the chosen flooring system. Whether flooring runs beneath particular cabinets depends on the product requirements and the project design.
Bathrooms require special care because waterproofing and drainage have their own rules. A shower floor needs its designed slope toward the drain. It should not be made level simply because the adjacent bathroom floor is being flattened.
Added floor height may affect a toilet flange, doorway clearance, or the transition to a hallway. These details should be resolved with the appropriate trade rather than improvised after the flooring is installed.
Stairs deserve particular attention. Changing the floor height at the top or bottom can alter riser consistency. Applicable code requirements and safety considerations should be checked before raising those surfaces.
A transition plan should show where materials meet and how changes in height will be handled. The best detail is often the one that preserves a comfortable walking surface while staying within the requirements of both flooring products.
Budget And Schedule For The Work Beneath The Finish
Floor leveling costs depend on more than room size. Correction depth, substrate condition, demolition, moisture treatment, and access can significantly change the scope. A small room with damaged subflooring may require more work than a larger room with a few shallow depressions.
Ask for an estimate that separates preparation from the finished flooring installation. Where conditions remain hidden, discuss an allowance or a clear process for pricing additional work. This makes it easier to understand what is included and how changes will be approved.
- Confirm whether removal and disposal of existing flooring are included in the preparation scope.
- Ask how unexpected substrate damage will be documented and priced before repairs proceed.
- Clarify which moisture tests, primers, and preparation products are included.
- Allow time for required curing and drying rather than assuming flooring can follow immediately.
- Discuss access restrictions, furniture storage, and whether occupants can safely use adjacent rooms.
Dry-to-touch does not necessarily mean ready for every floor covering. Installation timing depends on the product, thickness, temperature, humidity, and flooring requirements. A schedule should follow those conditions instead of using an arbitrary overnight wait.
For occupied homes, phased work may reduce disruption, but it can also introduce additional transitions and mobilization. Review those tradeoffs before choosing between room-by-room work and a larger coordinated installation.
Questions To Ask Before Approving A Leveling Plan
A good proposal should explain what problem is being corrected, why the selected method fits, and how the completed work will be checked. Homeowners do not need to become flooring specialists, but they should understand the basic reasoning.
- Ask whether the goal is improved flatness, a change in elevation, or a repair to the supporting structure.
- Ask what evidence supports the proposed cause of the unevenness and whether additional evaluation is needed.
- Request the flooring tolerance and the preparation product requirements used to develop the scope.
- Ask how cracks, moving areas, moisture concerns, and existing adhesive residue will be addressed.
- Confirm who will verify substrate readiness before the finished flooring is installed.
- Ask whether the scope affects permits, inspections, or structural design requirements for the remodel.
Be cautious about promises that one pour will solve every issue. A reliable plan separates structural repairs, moisture management, and surface preparation, even when all three are needed in the same room.
Plan A Better Starting Point With CDG Carolinas
Floor preparation is easiest to coordinate before finish materials are installed and before adjoining details are locked in. Including it early helps align demolition, repairs, cabinetry, and flooring around the same finished elevations.
If you are planning a Charlotte home remodel, gather your flooring preferences, note any movement or moisture history, and identify the rooms where transitions concern you. These details help make the initial conversation more productive.
Call CDG Carolinas at (704) 619-6293 to discuss your remodeling plans and the floor conditions you want evaluated. A thoughtful preparation plan can help protect the finish you choose and make the completed space feel more consistent underfoot.
Call (704) 619-6293 to talk through next steps.