
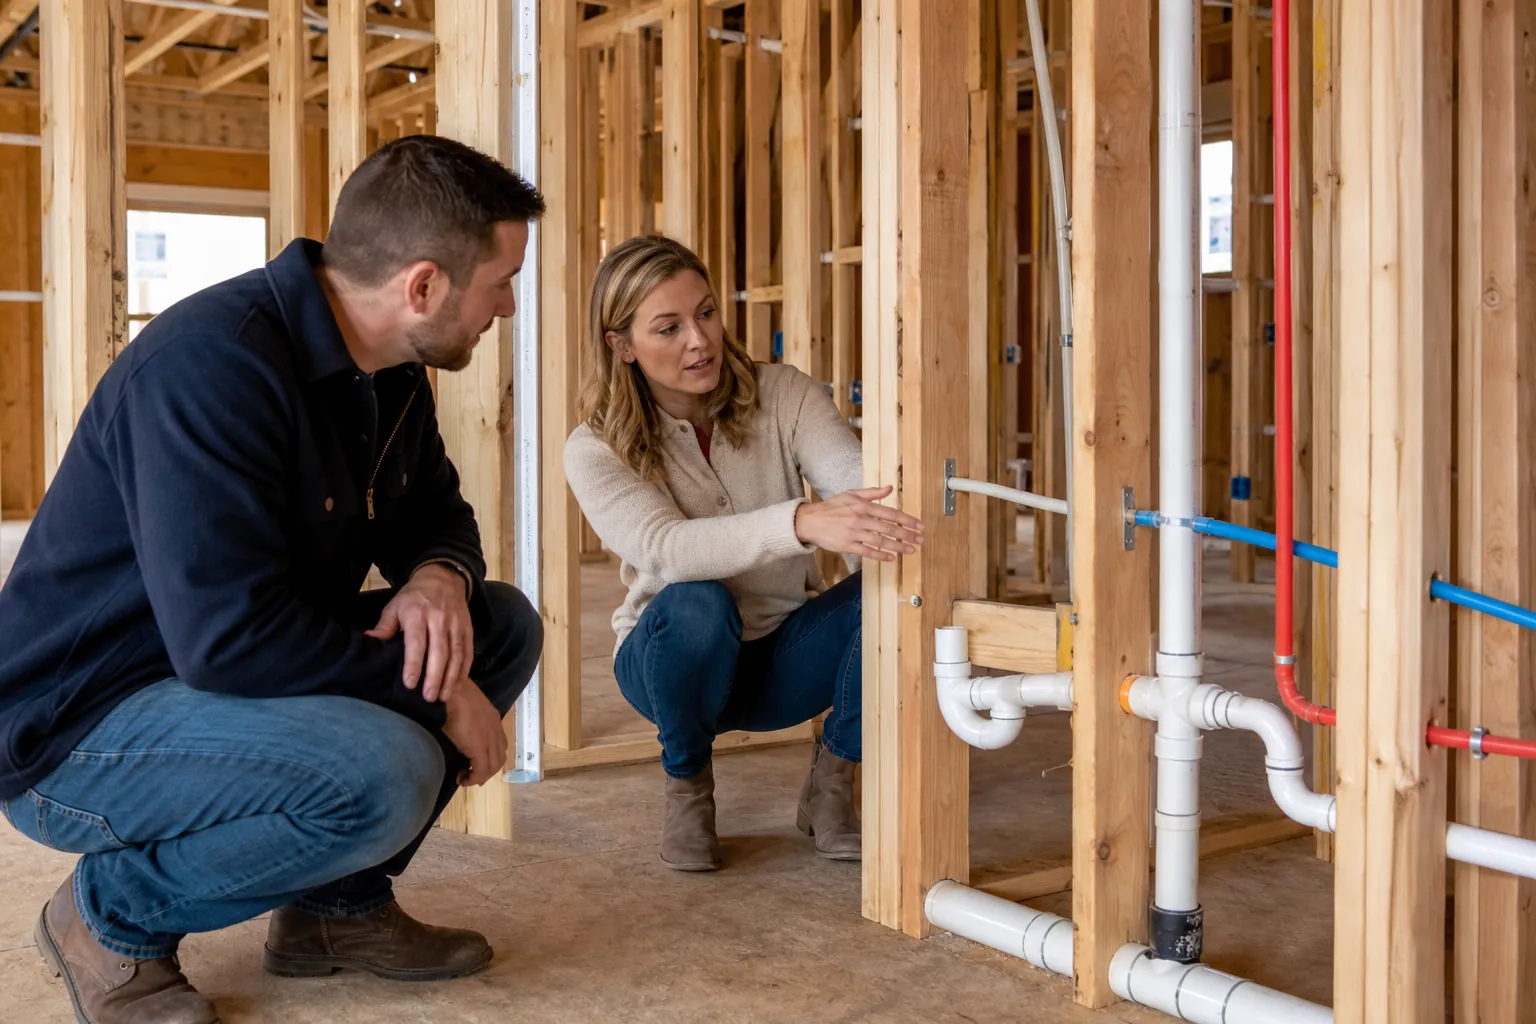
A plumbing rough-in walkthrough is a chance to compare what has been installed with the approved project documents before walls and finishes limit visibility. For a Charlotte homeowner, the goal is not to perform a technical inspection or approve concealed plumbing work. The goal is to confirm visible locations, document questions, and make sure decisions affecting cabinets, tile, fixtures, and room layout are understood. Bring the current plans, fixture information, a tape measure, a phone or camera, and a written list of selections. Record concerns without moving, testing, or altering any piping.
Start With Current Plans and Confirmed Selections
Begin the walkthrough with the latest approved floor plan, plumbing layout, cabinet drawings, and fixture specifications available for the project. Older documents can create confusion if a vanity width, tub model, sink location, or wall position changed during planning. Mark the revision date on each document and ask which version guided the visible rough-in.
Confirm that every plumbing-dependent item has a final location. This may include toilets, sinks, tubs, showers, washing machines, dishwashers, refrigerators, and other items shown in the project documents. Do not assume that a centerline or connection can be moved easily after the wall is closed.
Selections and allowances also affect rough-in decisions. Fixture dimensions, installation types, and surrounding finishes may influence placement. If the budget still contains undecided items, review bathroom remodel allowance planning in Charlotte before treating the layout as final. Write down every open selection and identify who must answer it.
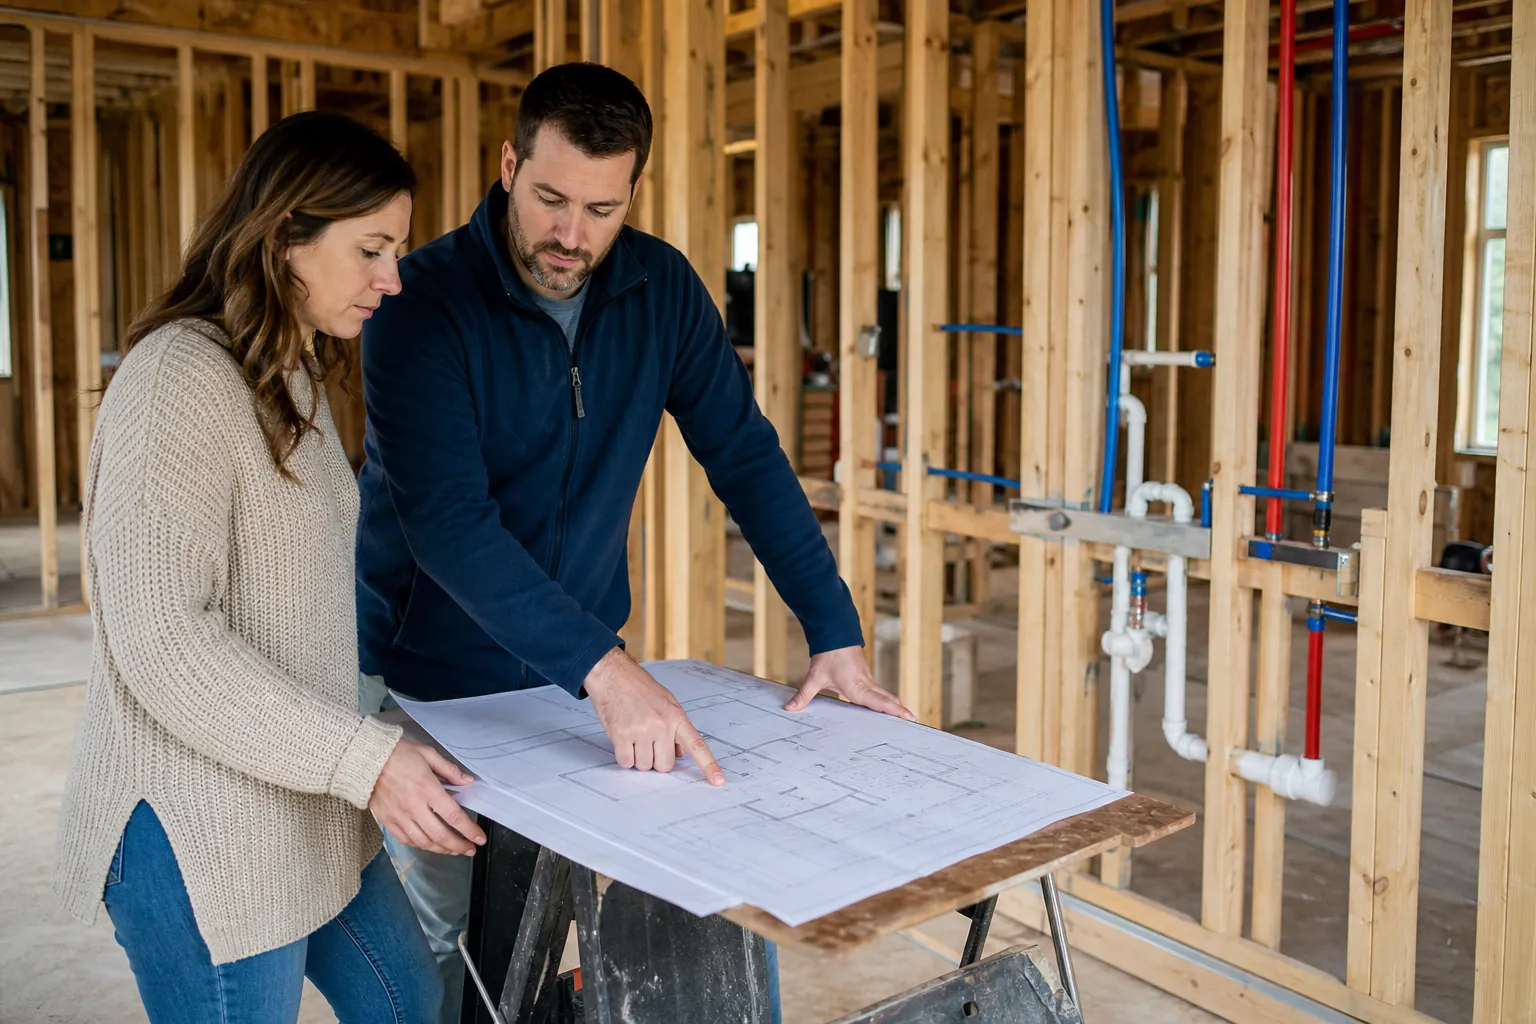
Compare Each Fixture Location With the Layout
Walk through the project one room at a time and compare visible supply and drain locations with the plan. Focus on relationships rather than judging technical compliance. A sink connection should align with the intended cabinet area. A toilet location should make sense relative to walls, doors, and nearby fixtures. Tub and shower connections should correspond with the selected fixture orientation and planned control location.
Use a tape measure to document visible centerlines and distances to stable reference points, such as framed walls or clearly established layout lines. Avoid relying on visual estimates. Note whether measurements are taken from framing or from an expected finished surface because drywall, tile, and other materials add thickness.
Look at the room from normal entry points. Ask whether doors, drawers, and access panels appear compatible with the proposed locations. If something differs from the drawings, do not decide that it is wrong based only on appearance. Photograph it, record the measured difference, and request clarification before work conceals the area.
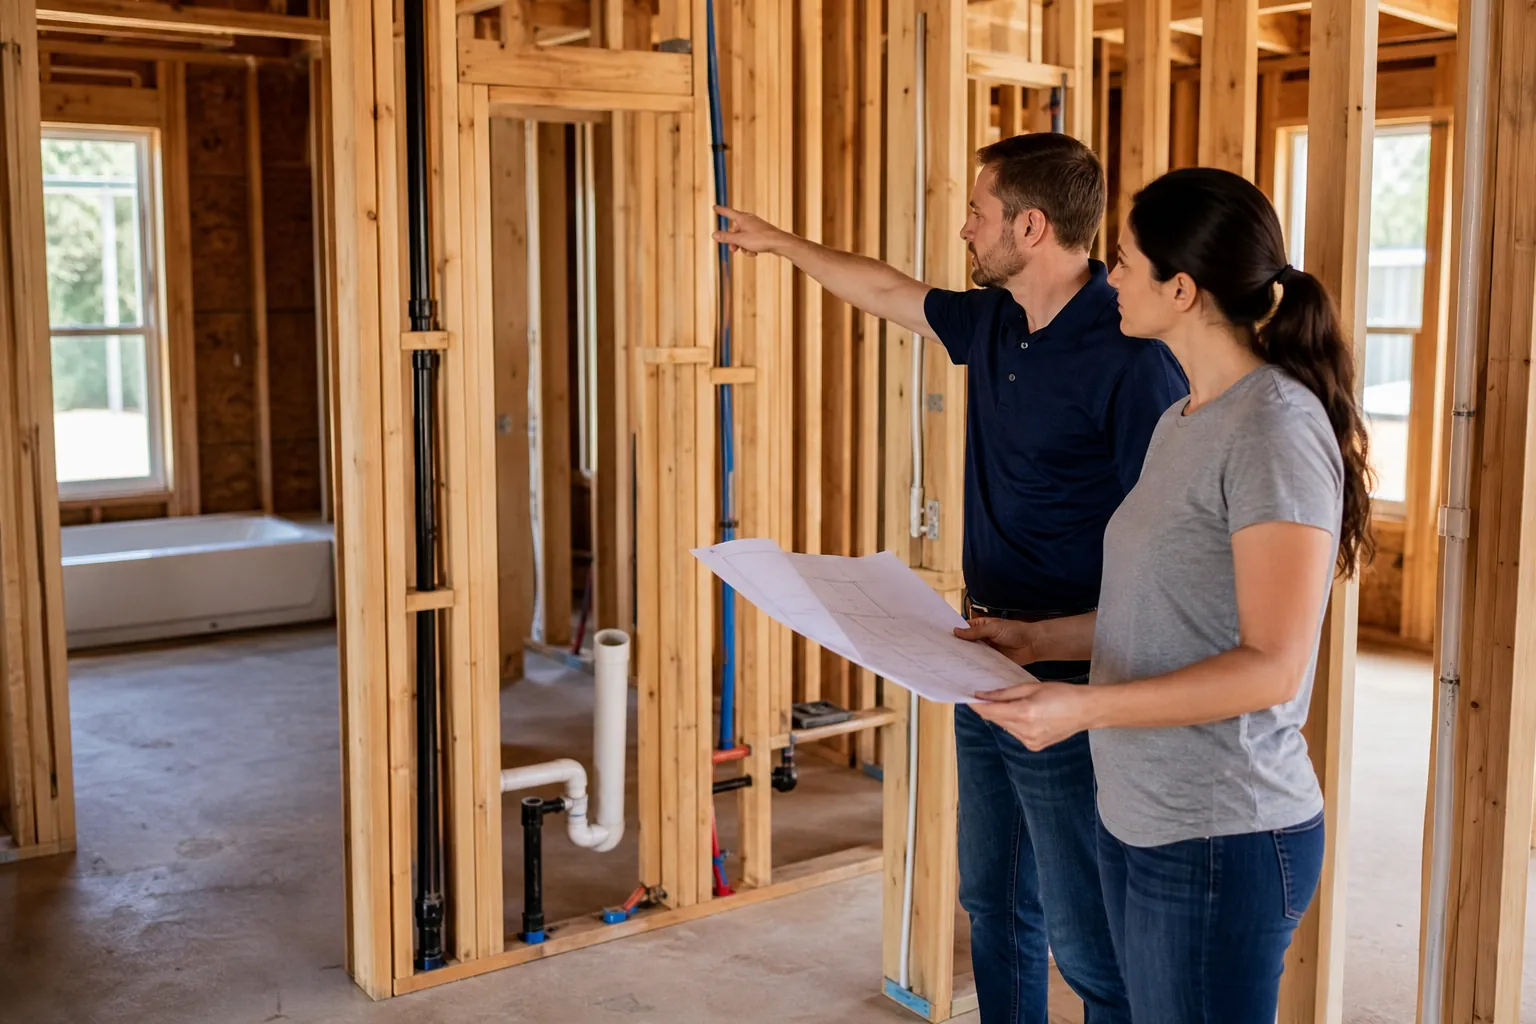
Review Walls, Cabinets, and Finish Clearances
Plumbing rough-in locations interact with more than fixtures. Cabinet boxes, countertops, mirrors, wall finishes, trim, flooring transitions, and door swings can all affect whether the completed room functions as intended. Compare plumbing points with cabinet elevations and appliance specifications, not only with the floor plan.
Pay close attention to walls that will receive tile or other layered finishes. The final face of a wall may differ from the framing surface visible during the walkthrough. That difference can matter where controls, spouts, valves, drains, and escutcheons meet finished surfaces. Ask how the intended finish thickness has been considered.
For vanities and kitchen cabinets, confirm that visible connections appear within the planned cabinet area and do not conflict with drawers, shelving, or structural dividers shown on the drawings. Where plumbing is located near framing, ask whether required backing, access, and finish details are coordinated. Treat any uncertain clearance as a question for the appropriate project professional rather than attempting an on-site adjustment.
Document Visible Work Before It Is Concealed
Thorough documentation creates a practical record for later finish work and future questions. Take wide photographs of each wall first, then closer images showing pipe routes and connection points. Include a tape measure in selected photos when scale is important. Label images by room, wall, and date so they remain useful after hundreds of project photos accumulate.
A concise walkthrough record should include:
- The plan revision and fixture information used during the review
- Measured fixture centerlines from identifiable reference points
- Wide and close photographs of visible supply and drain routes
- Locations that may affect cabinets, drawers, doors, tile, or access
- Differences between visible work and current project documents
- Open questions, the person responsible, and the requested response date
Do not cover or alter work simply to improve a photograph. Also avoid representing your notes as a code inspection. Charlotte-area permit and inspection requirements should be addressed through the applicable project process. Your record is primarily a coordination tool that helps the team resolve decisions before finishes reduce access.
Close Every Question Before Walls and Finishes
Finish the walkthrough by turning observations into a clear decision list. Separate confirmed items from unresolved items. For every question, identify the exact room and location, attach a photo, cite the relevant drawing or fixture specification, and state what needs clarification. Vague notes such as “check sink” are less useful than a measured description tied to a cabinet or wall.
Ask for written confirmation when a visible condition differs from the approved documents or when a change affects another trade. A plumbing location may influence cabinetry, electrical placement, waterproofing, tile layout, or countertop fabrication. Coordinating those dependencies before concealment can reduce confusion later.
Before concluding, verify that all requested answers have an owner and a due date. Keep the final response with the project records, along with revised drawings or approved change documentation. Do not authorize changes informally if the project requires written approval. A calm, methodical walkthrough is most valuable when it produces a shared, current record rather than a collection of verbal assumptions.
Discuss Your Project Questions
If you are organizing a plumbing rough-in walkthrough for a Charlotte project and want to discuss the planning questions involved, call CDG Carolinas at (704) 619-6293.
Call (704) 619-6293 to talk through next steps.